What is a Sump Pump?
Sump pump installations are necessary for homes where water continues to accumulate in your basement. In simple terms, a sump pump basically collects the flood water under the foundation of your home, where it is then pumped off to the outdoors away from your home. Here, the floodwater is able to safely drain into the ground. It is important to keep your basement dry, not only to help protect the foundation of your home but to also help control your basement’s moisture. When sump pump installation is necessary to avoid water accumulation in your basement, the first step is figuring out which system is right for your home. While most newer homes come complete with a sump pump arranged, older homes may not be as updated with this feature. If you reside in an older home where water damage affects most parts of your basement, a retrofit system might be a good selection for you. This system involves removing a slab of concrete from your foundation, along with the soil underneath. Then the sump pump installation begins after the pit is created, followed by adding gravel and replacing the concrete. As every home is different, other system options may be a better option for your home. Another sump pump installation option is an isolated sump pit. This system is more beneficial for homes where there is only one specific area in your basement with a water accumulation problem. An isolated sump pit system could also be the better option for your home if your basement floor was poured over a gravel bed. You always should consult with an expert before making decisions about sump pump installations in your home.
Before you start:
When preparing for a sump pump installation it is a good idea to try to anticipate what lies beneath the concrete section in your foundation you are breaking into. Avoiding pipelines such as your sewer line and your main water supply are important so you don’t further the damage in your basement. As the sewer line in your home should be evident, the main water supply might not be as clear. If the main water supply enters your house through a wall, you most likely won’t find it under that concrete slab, But if the supply enters through the floor, you should contact your local building codes office to check where the water supply line may be.
Step one: creating the sump pit
The first step to a sump pump installation is creating the sump pit. Finding the location in your basement with the most water accumulation is typically where the pit should be created. Then you should break open an area of the concrete wide enough for the sump pump to be installed. After the concrete is removed, you should dig a hole in the soil deep enough to accommodate the sump pump you are installing.
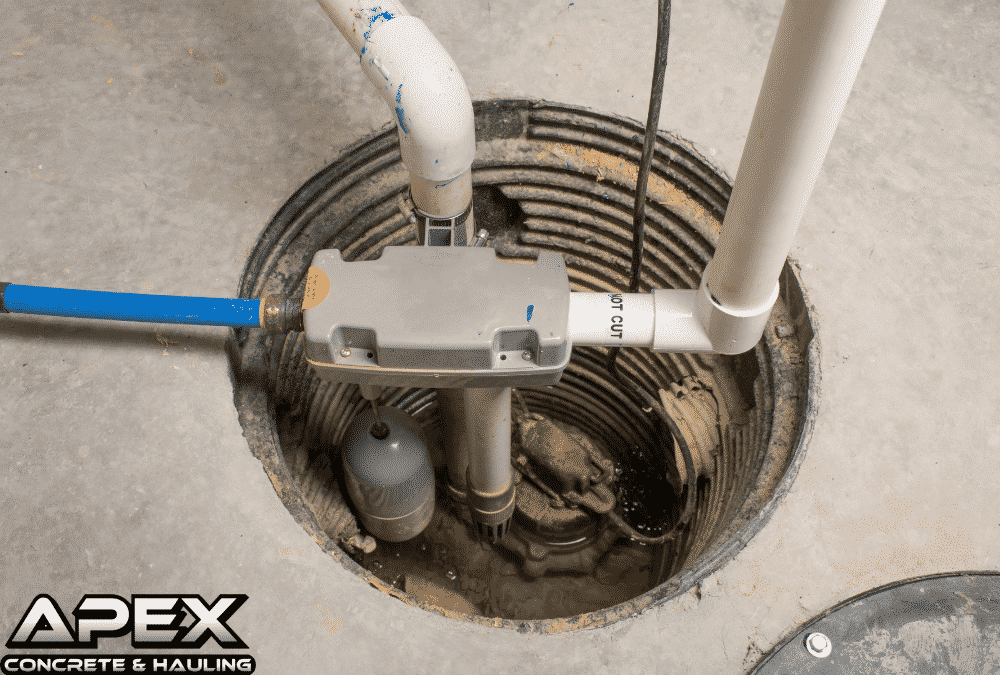
Step two: preparing and installing the sump pump
After you have removed all the concrete and the soil, the next step is adding a liner to the pit. This is important to prevent silt and sludge from clogging the sump pump. Once the liner is added, then you should fill the remaining void with coarse gravel. This is done to create a stable platform. Next, you are able to place your sump pump in the hole, filling the exterior areas with excavated dirt. After the dirt is placed in its perimeter, the sump pump should be sturdy even if you try to shake it. It is also important to make sure the float valve isn’t obstructed before continuing your sump pump installation. It is pivotal to test the float valve by moving it up and down with your hand to make sure nothing is in its way.
Step three: adding the check valve
Once testing the float valve you are able to continue with the sump pump installation. The next step includes creating the check valve. The check valve channels water away from the sump pump. Between the check valve and the exterior of the home, run a flexible hose that will go through the basement wall. Once the hose is through the wall, secure it using caulk, filling in any gaps.
Step four: testing your sump pump
At this point, it is time to give your sump pump a test run. Do this by filling the pump with water, and as the water increases the float should rise. This should turn the sump pump on, and the water should pump out. Even if all looks like it is running smoothly it is important to check for the connections for leaks. If the sump pump is working correctly you are now able to place the lid over the pump.
Step five: concealing the sump pump
The last step in your sump pump installation is to cover the hole surrounding the pump. This is typically done using cement. You will mix a small batch of cement that will be spread all around the installation site to conceal everything except the sump pump lid.
For all sump pump installation and repair needs contact the experts at Apex Concrete & Hauling